How to Design an Open Concept Kitchen and Living Room Online (Free)
Open concept layouts are the dream for modern homeowners. They make your house feel massive, let natural light pour in, and are perfect for entertaining. But when it comes to actually designing one, things get tricky.
Without walls to define your rooms, it is incredibly easy for your kitchen and living room to feel like one giant, cluttered bowling alley. You need to plan your “zones” before you buy a single piece of furniture or knock down a single wall.
The Solution
Don’t guess where your kitchen island should go. Use Planner 5D—a free, drag-and-drop 3D design tool—to map out your open floor plan, test furniture placement, and visualize the flow of your home in minutes.
Start Designing FreeWhy Open Concepts Require Digital Planning
When you combine a kitchen, dining room, and living room, you are dealing with conflicting traffic patterns. You have to ensure that opening the fridge doesn’t block the pathway to the sofa, and that your TV isn’t picking up the glare from the kitchen windows.
Using free home design software allows you to:
- Test traffic flow: Ensure you have at least 36 inches of walkway between your kitchen island and living room furniture.
- Coordinate colors: Because the rooms share the same visual space, your kitchen cabinets and living room rug need to complement each other.
- Visualize sightlines: See exactly what your guests will look at when sitting on the couch.
Step-by-Step: Designing Your Open Concept
For this tutorial, we recommend using Planner 5D because it runs entirely in your web browser and allows you to switch between 2D planning and realistic 3D viewing instantly.
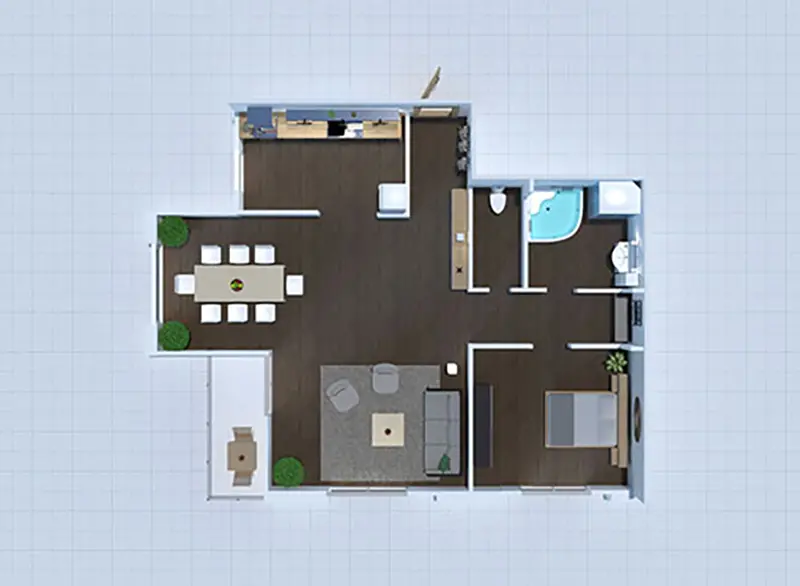
1 Draw Your Base Floor Plan
Start in 2D mode. Draw the outer walls of your entire space. The biggest mistake beginners make is trying to draw invisible boundaries. Just map out the massive square or rectangle first. Add in your windows and exterior doors so you know where your natural light is coming from.
2 Define Your “Zones” with Flooring
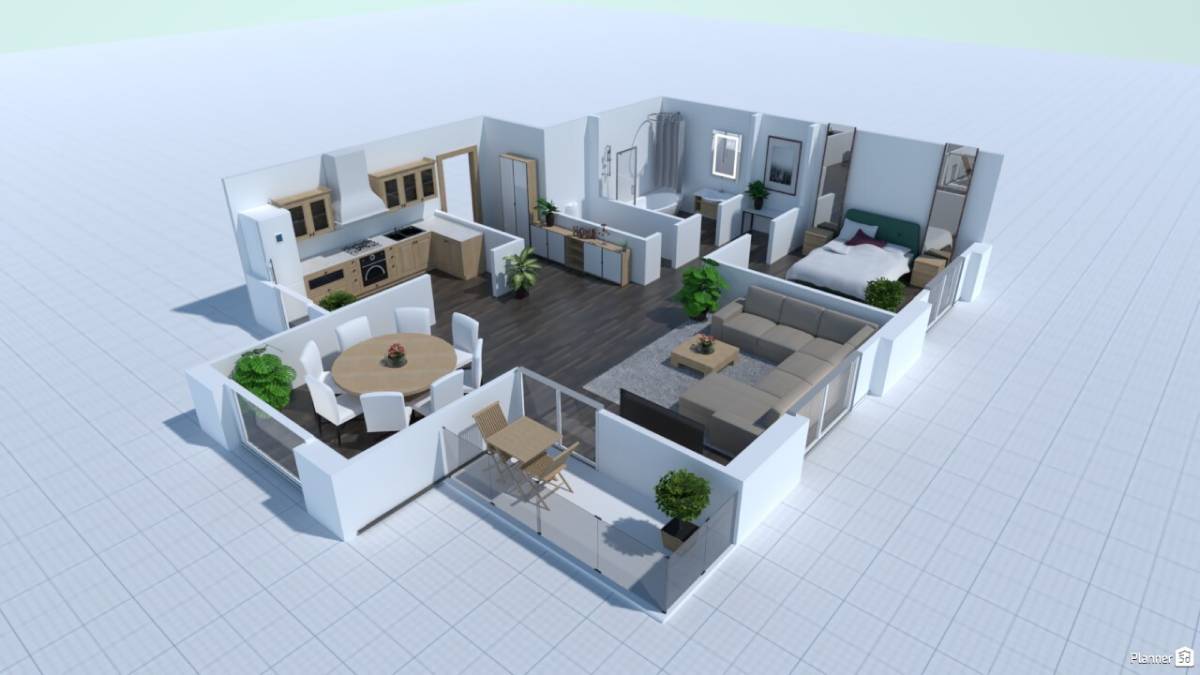
In an open concept, you use décor to create boundaries instead of walls. A pro-tip is to use Planner 5D’s materials menu to change the flooring. For example, place hardwood across the entire space, but drop a massive, textured area rug exactly where your living room will be. This instantly creates a “room within a room.”
3 Place Your Anchors
Do not start by placing barstools or side tables. Start with the “Anchors”—the largest pieces of furniture that dictate the room’s flow.
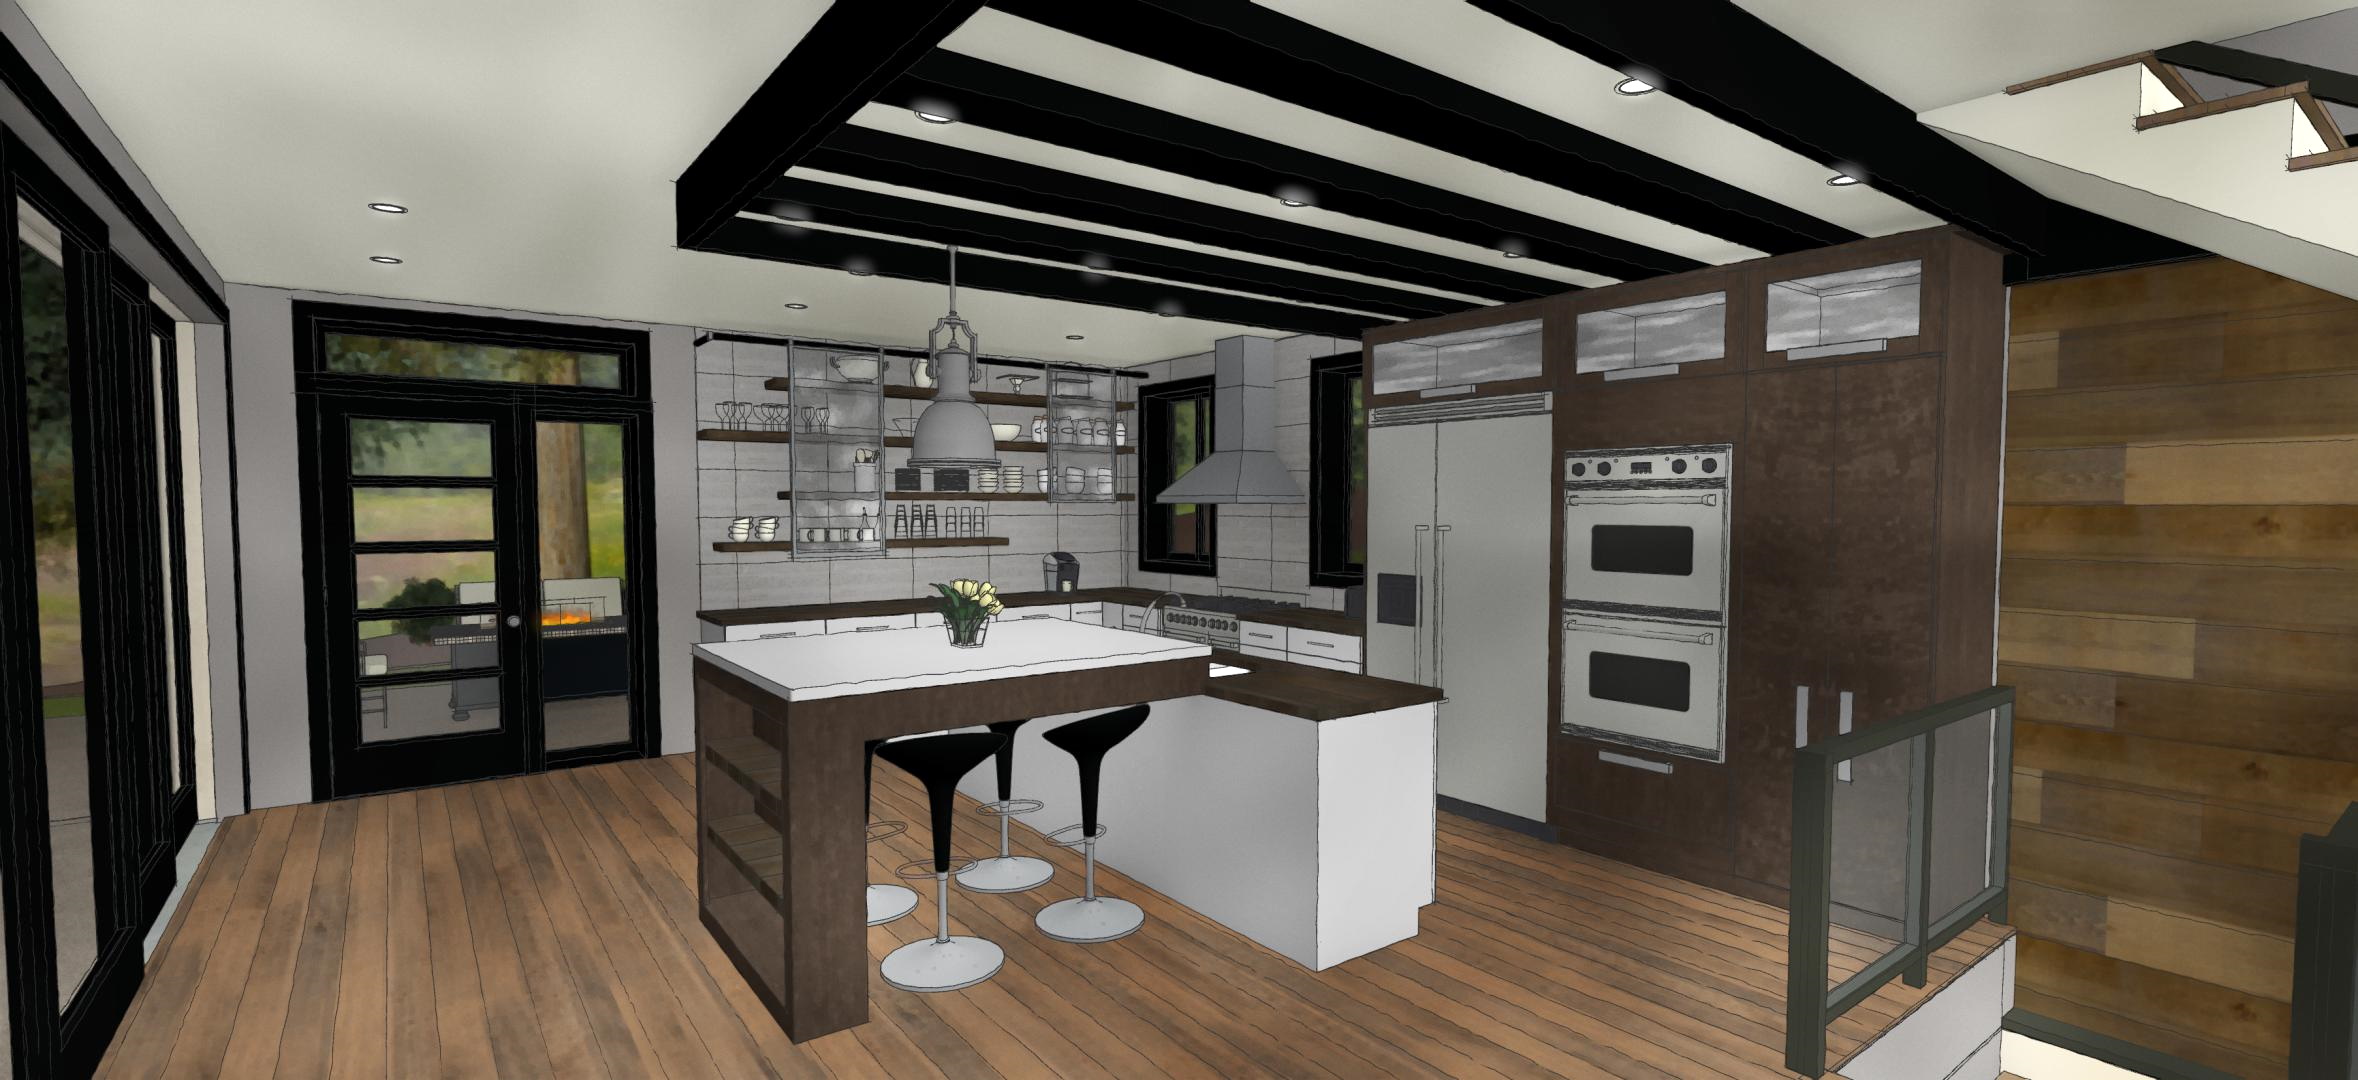
- The Kitchen Anchor: Drop in your kitchen island. This acts as the physical barrier between the cooking zone and the lounging zone.
- The Living Room Anchor: Place your sofa. In open concepts, “floating” the sofa (placing it in the middle of the room with its back to the kitchen) is a great way to separate the spaces.
4 Switch to 3D and Walk Through
Once your anchors and rugs are in place, click the “3D” button in Planner 5D. The software will instantly generate a realistic rendering of your space. Use your mouse to “walk” from the kitchen to the living room. Does it feel cramped? Are the colors clashing? Adjust it on the fly.
Ready to Visualize Your Space?
Stop guessing and start planning. Create your free Planner 5D account to build your open concept layout right now.
Open Planner 5D EditorDisclosure: This article may contain affiliate links. If you click and make a purchase, we may earn a commission at no extra cost to you.